ISO image to USB drive or SD Card on a Mac (without using Disk Utility)
Gaurav Chande / February 08, 2014 (156 Words, 1 Minutes)
I was trying to restore a USB volume with a .iso file source recently using Disk Utility on the Mac OS (10.9). It simply did not work; I kept getting those ‘Could not validate source’ errors. Even ‘Scan Image for Restore’ option returned the same error. Turns out, Disk Utility is useless for this work.
There’s a simple command you can run in the Terminal app instead, which does the trick. First things first, you need to find out the ‘identifier’ for your USB (or SD Card). Just open up Disk Utility (yea, that same dreadful app), find your USB drive on the sidebar and click it. Now click the info button on the top bar. Look for the value of ‘Disk Identifier’. It should be something like ‘disk2’ or ‘disk3’. Lets say, in your case, the identifier you found is called ‘disk2’.
Second step is to unmount the partition so that you don’t get the Resource busy error. Your USB drive should have a partition which is shown as a part of it in the same sidebar (usually named ‘Untitled’). Here’s a snapshot of mine:
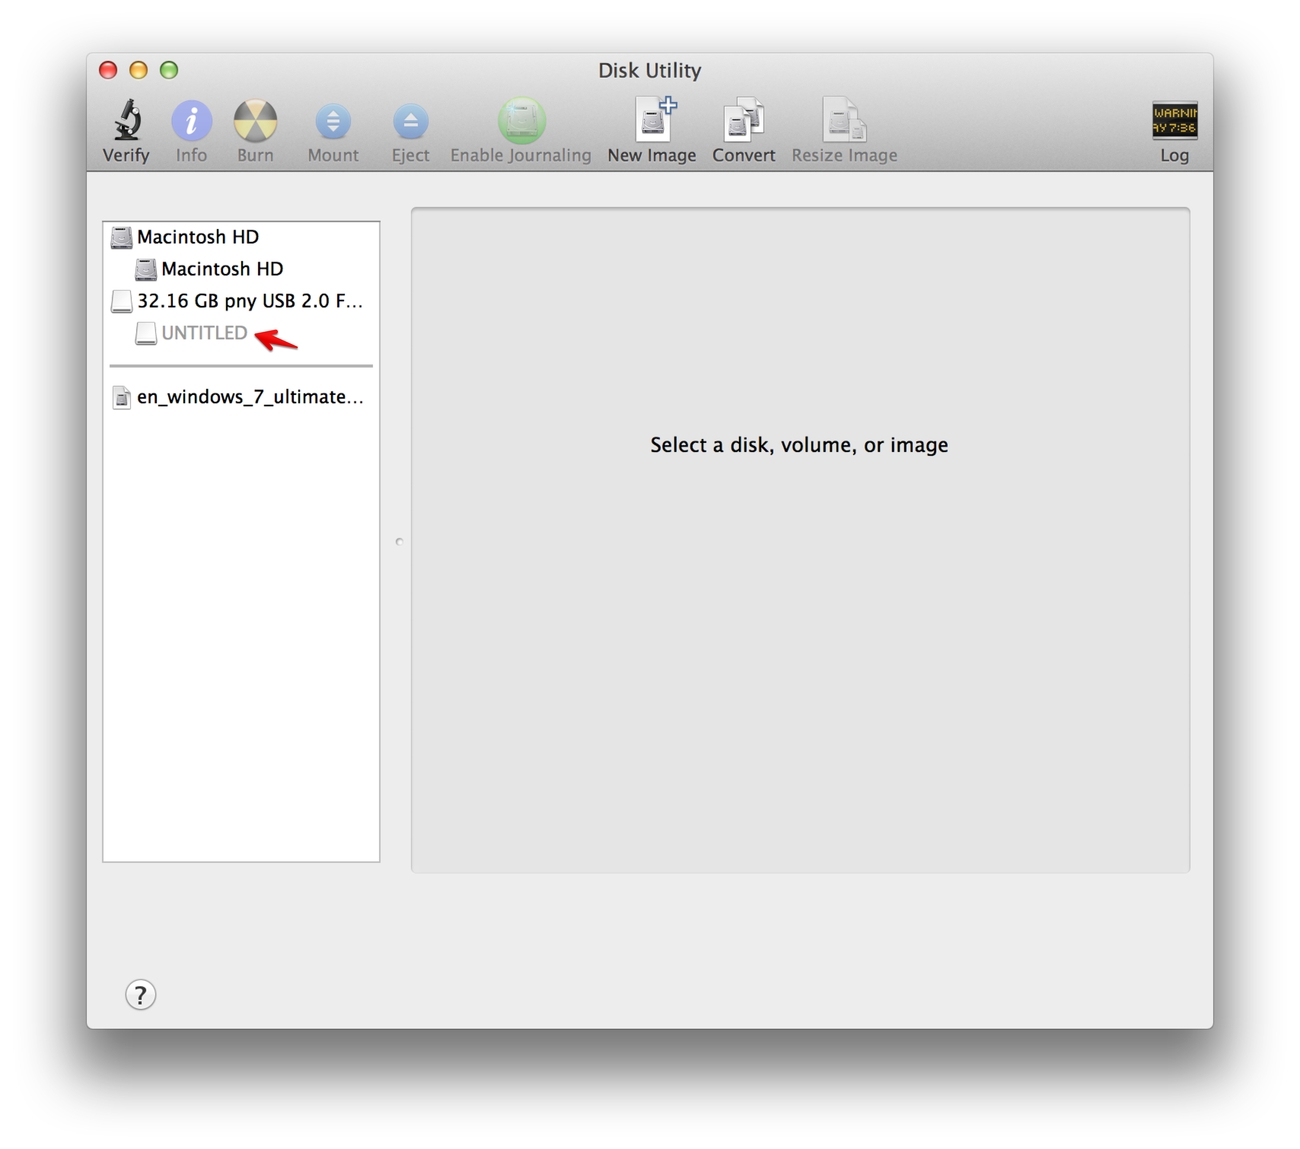
Just select it and click ‘Unmount’ in the top bar.
Now open up the Terminal app (should be inside Applications > Utilities) and type sudo dd if= in it. Open up the folder where your .iso file is situated, drag it from there to the opened Terminal window (where you typed the command). Now hit ‘space’ key and complete the command by typing of=/dev/disk2 (where disk2 is the identifier you’d found).
The full command would then look something like,
sudo dd if=/Users/username/Downloads/some_very_cool_disk_image.iso of=/dev/disk2
Just hit return now, enter your mac user password if it prompts for and wait for the process to complete. Your USB drive (or SD Card) should be bootable now, loaded with the contents of your ISO image file.
You should send me your comments on twitter here.